
Yurts are an eco-friendly way to live in style. When planning for your yurt to be built, part of the process will involve partitioning it. The unique circular structure makes it sometimes hard to arrange your furniture and you need to make the most out of it by including partitions.
If you’re going to erect your partition wall to max out space usage, you need to know how to do it properly. Maybe it’s a big step, maybe it’s small, maybe you can do it alone or with friends or without. But there are several ways of doing it and each has its strengths and weaknesses. This blog will look at everything you need to know about how to measure the room, choose the right partition wall materials, and how to install them. Let’s walk through them together.
Table of Contents
Step One: Measure the Room and Wall Height
The first step in installing a partition wall is measuring the room and height. This is important so that the correct size and layout of the wall can be determined. Once the room is measured, you can work out the area to determine the type and thickness of the partition wall that will be needed.
It is best to have a floor plan to mark out the partition with a furniture rearranging app to simplify the process. That way, you wouldn’t find yourself in a situation where your furniture misfit in the area you want to put. You can even just mark out each section of the room and tape out the area.
Step Two: Choose the Right Type of Wall Materials
There are many types of partition walls. What should the wall be made of? How wide and thick should it be? How many bricks should it have? All of these questions will help you decide what kind of partition wall you need.
When choosing the right type of partition wall, there are a few things to consider.
The common method for erecting both of these types of walls are very similar. Drywall walls can be built with a variety of materials and styles. Most people prefer the modern style of drywall because it is more durable, looks great, and is easier to work with.
The type of wall will depend on the layout of your home and the needs of your family.
Some common materials used for partition walls are:
Glass partitions are walls made up of glass sheets or blocks that provide reasonable privacy and sound insulation. Such partitions help divide workstations in an office, while also providing a means of raising the interior’s style quotient. However, one needs to be cautious regarding affixing them since they can be unstable or even shatter into pieces if handled improperly.
Wood-wool wall partition is a type of wall-building material made from wood fibers that are incorporated with Portland cement or other binders, resulting in a lightweight and energy-efficient option for commercial and residential spaces. Although it is not as durable as other materials, it is easy to install and can be easily painted.
Drywall partition walls are the most common type and are made up of sheets of drywall that are nailed or screwed together. They are usually rectangular and can be painted or left unpainted.
Metal partition walls are also common but are usually more expensive than drywall walls. Partition walls are generally used for office spaces, bathrooms, or any room where you need to keep out water. Metal walls are much more durable than drywall and they will stand up to the wear and tear that comes with everyday use.
Step Three: Purchase the Materials & Tools
Once you have determined the type of wall that you need, it’s time to go shopping for the materials.
A factor to consider when it comes to adding a wall to your room is the price. Materials for partition walls can vary in price.
Minimally, you can expect to spend anywhere from $1 – $6 per square foot for drywall building and each option’s cost price differs. Wood framing costs around $1 – $3 per square foot while metal framing costs about $2 – $6 per square foot.
All these will vary depending on your budget and needs, but it gives you a general idea of what you will need to build for your specific needs. I would say a simple wall is justifiably affordable if you kept its thickness to a minimum of 2.5 – 3 inches and low soundproofing quality.
The goal would be to get the cheapest materials possible that allow you to build the most economical structure possible while still being able to support all those required features if you decide to build more than one-way partitions or through doors in the future.
Tools that you need:
1. Tape measure
2. Level
3. Circular saw
4. Paint or a sealant
5. Ruler or a straight edge
6. Cordless drill
7. One-inch hole saw
8. Paint or a sealant
9. Stiles or braces (if needed)
10. Screwdriver
Step Four: Types of Partition Wall
It’s an interesting question, as partition walls are a very common topic in the yurt living community. The answer is that partition walls can be used in many different situations, and each situation has its advantages and disadvantages.
There are several types of partition walls:
• Initial partition wall (build a wall from scratch or parts): The main benefit of an initial partition wall is that you can build it in a much more affordable way. However, it has its drawbacks as it requires a lot of labor and effort to build. It also has to be built on a flat, level surface, so it is not a good option if you live in a location with a lot of soil or sloped terrain.
• Gap partition wall (a gap between two partitions): Gap partition walls are great if you want to have a lot of space in your room, but don’t want to make a partition wall out of wood. A gap partition wall allows you to use drywall to divide your room. It is the most popular option and you can find them at most home improvement stores.
• Folding partition wall (a partition wall that folds): Folding partition walls are great if you are trying to create an area that is small but still needs a partition wall. They are made up of metal and are designed to fold and slide out of the way. You can also get them in several colors, and they are a great option for small spaces.
Step Five: Build the Wall (Wood frame example)
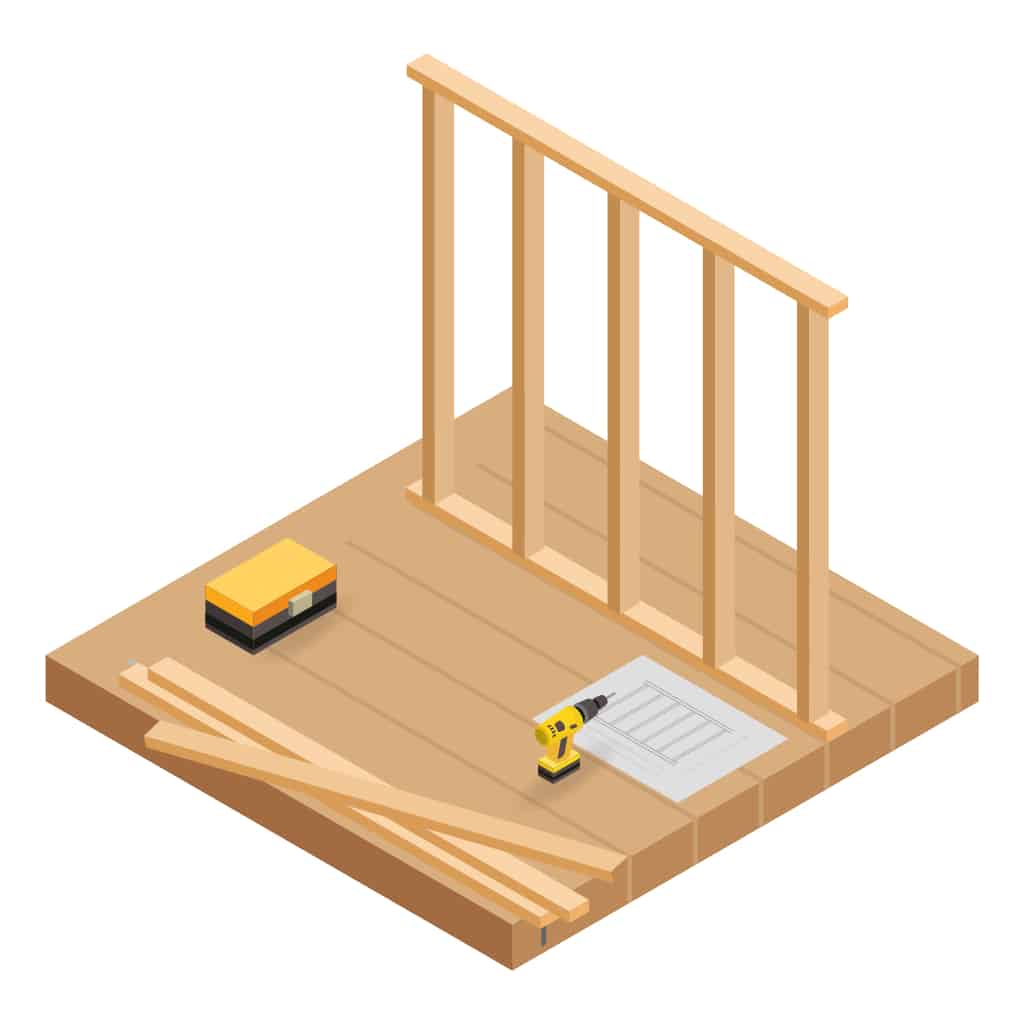
Here’s the difference between traditional homes and yurts. Yurts have little internal framing apart from the rafter and lattice wall. So erecting a partition wall might be a little more tricky.
You can choose to erect a freestanding partition or join it to the wind and snow legs structure of the yurt. If your yurt does not have wind/snow legs, you’ll need to erect additional posts and joists before building the wall. Now for the fun part!
Measure and mark (Top and Bottom plate)
Start by marking out the ceiling straight beams a few inches from the yurt wall where the partition is going to meet it.
Measure the distance from each point marked from this to its wall by dropping a plumb line onto the floor at regular distance intervals.
Place both top and bottom plates together. At every standard distance interval (15-20 inches), mark the vertical beam locations from the plumb line-markings.
Cut & Measure the Vertical Beams
The vertical beams length can be found by measuring up to the ceiling joists subtracting the thickness of the top and bottom plates.
After subtracting the combined thickness of the top and bottom plates from the total height (floor to ceiling), it will give you the exact length of your vertical beams and cut them accordingly.
Assemble the Wall to Yurt Structure
You can better understand where the base pieces are by putting them out on the floor. The mark on the top and bottom plates should be aligned with the end of the vertical beams marking. If you want to join wood, the best way is to drive long nails from the back to the front.
You will pull your joint apart if you use the nails in opposite directions. Make sure that you drive the nails the same way you are joining pieces. Once all the parts and secured together, you can start bringing up the wall and nail them to the yurt posts.
You can also opt to include horizontal wood lumber in the frame for a more solid wall. This helps to increase the wall’s structural integrity.
Examine the Partition for Plumb
If you use a hammer, a level, a drill, and a screwdriver, there is no need to worry about keeping things plumb. But making sure the beams are perfectly straight is very important. Building a framing system that can be adjusted using only the materials provided is easy.
If the ceiling and floor are not in the same plane, you can use shims to make the space more even.
Make Sure the Partition is Secured
Make sure the nail is secured in the bottom plate if you want the flooring to hold in place. Consider using two 10d nails per stud bay to keep the wall firmly in place if you want to nail a plank of wood directly against the vertical beams in the wall frame.
Final Note:
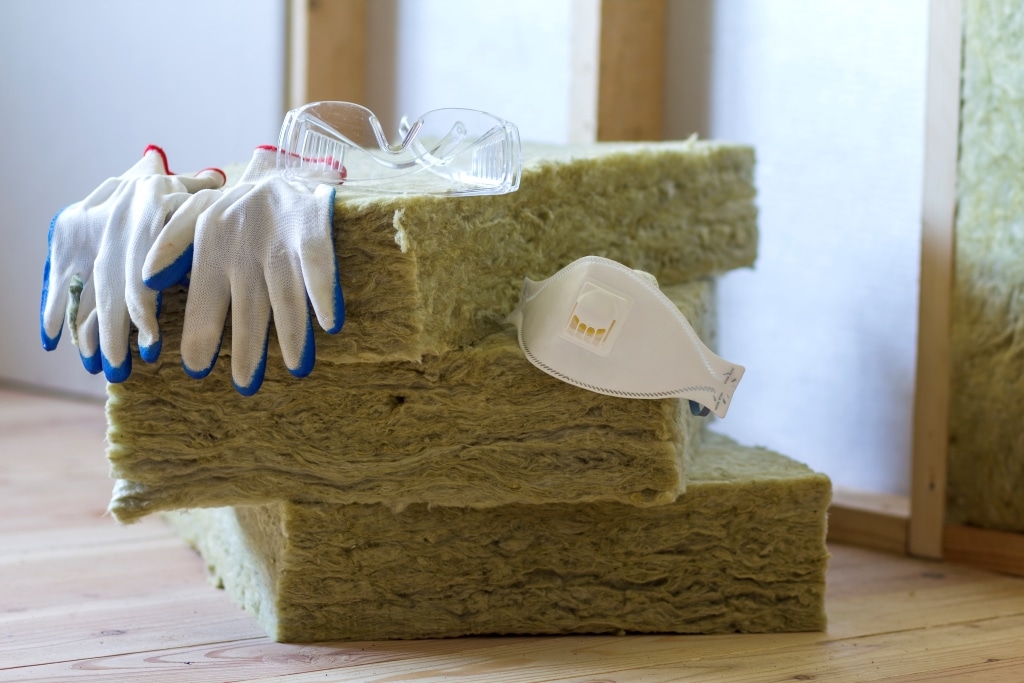
Everything looking good so far? Now your partition is almost complete. To finish… you can choose to include some wood wool insulation for soundproofing or nail your drywall on the frame.
Building a partition wall for a yurt requires a lot of commitment. Believe it or not, it may seem like an impossible task at first, but it’s a very fun experience. If you are looking for some partition ideas, you might want to check out our post on Top 10 Partition Ideas for your Yurt.
All in all, it’s a very rewarding experience you will have the satisfaction of knowing that you did the work yourself and the enjoyment of a new room in your yurt. You may have to invest a lot of time in the process but it will be well worth it in the end.