We all know how important it is to have access to clean water, but many people still live without a safe and reliable water source. Besides being fully depended on municipal water supply, then you should start planning a water harvesting system for the homestead.
Building a water system in your home or business is not a complicated task, but it does require some basic knowledge about electricity, plumbing, and horticulture. If you are looking for a way to make your home more self-sustaining, then you may want to look into building a water harvesting system.
A water harvesting system is a type of rainwater collection system that allows you to capture and store rainwater that would normally go to waste. As a homeowner, you are responsible for the maintenance of your water source.
You should take measures to conserve water, such as using irrigation systems and investing in a water collection system. If you are completely off-grid, you are responsible for all aspects of your water supply, from sourcing to treatment.
Table of Contents
What Is A Rainwater Collection System?
A rainwater collection system is a type of system that allows you to capture and store rainwater that would normally go to waste. It is a low-cost and environmentally friendly way to collect rainwater and store it for future use.
A rainwater harvesting system is very easy to install especially for a small-scale gravity feed system. And it wouldn’t take more than a day to customize and install.
Although there is no standardization regarding which system is best for different climates and environmental conditions, these systems work in most weather and create an additional source of water to use for your household needs. Some of these systems can be coupled with your mains water to ensure you have an uninterrupted water supply. Here is an article with different types of rainwater collection systems you can consider for your off-grid home.
Given that rainwater can be used to water gardens, landscapes, or even livestock, it is an essential resource that should not be wasted. The first step in utilizing rainwater is to determine which method you will use to collect it.
This guide will help explain everything you need to know about installing your own system so that you can build one for your home. You will also learn everything from the components needed as well as expand your knowledge of a rainwater collection system.
How to Build Your Own Rainwater Collection System?
Building your own water collection system is a great way to save money on your water bills and increase the sustainability of your home. And while it is possible to purchase a pre-built system from the store, I highly recommend building your own instead.
Building your own system allows you to control everything, from the materials you use to the size of your tank. Before we get started, let’s start by discussing what you will need to build your own pump-feed water collection system.
- Rain barrel/Storage tank
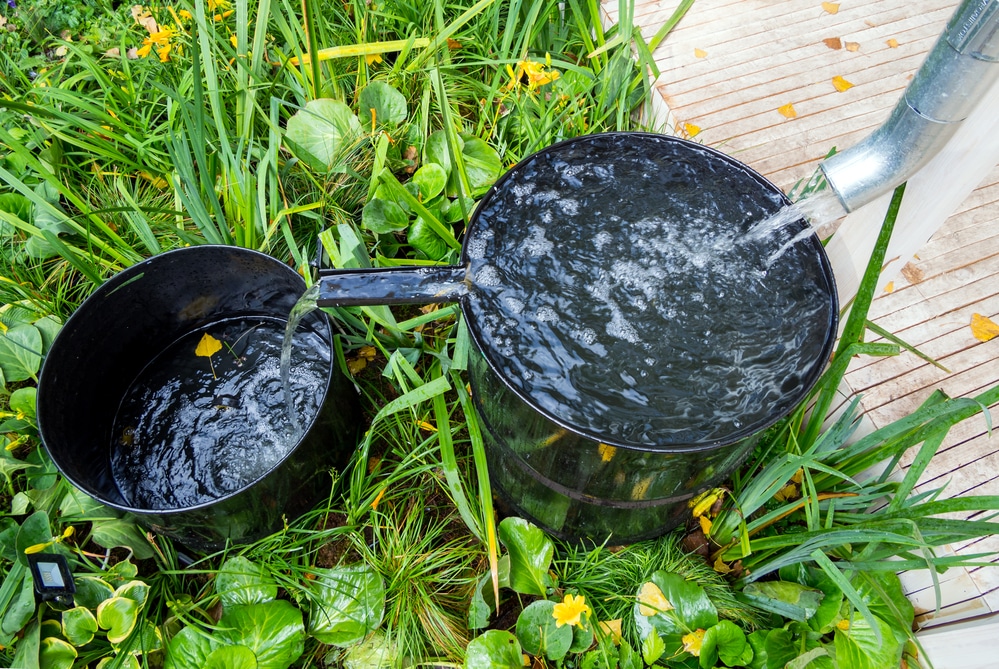
You will need to have a rain barrel, which is basically a container that collects rainwater and stores it for later use. You either place it underground or on the ground. - Rain gutter
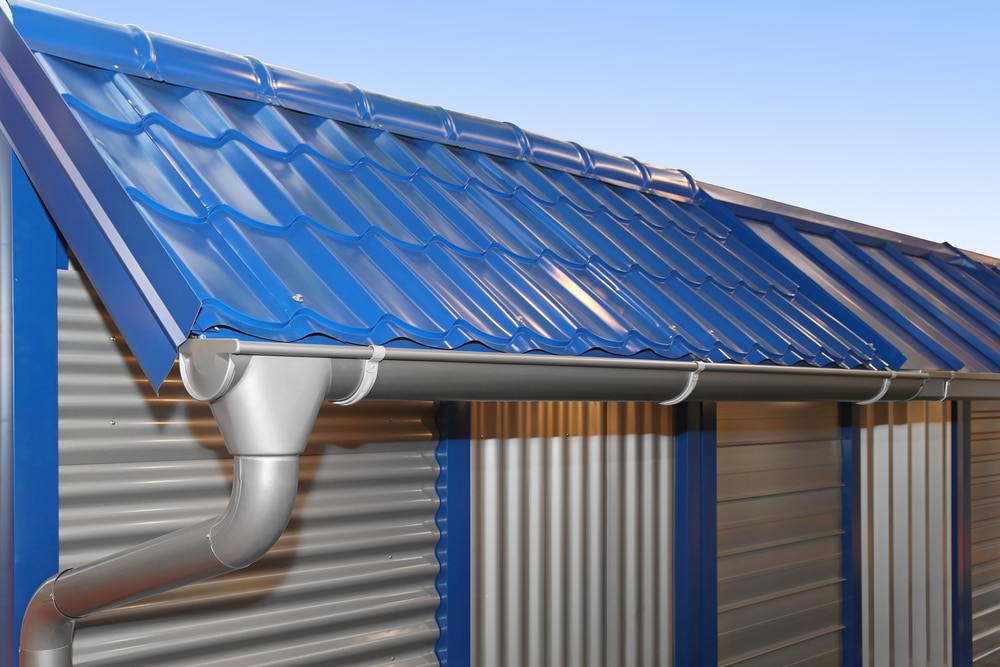
A rain gutter is a shallow container that collects the water that falls from the roof and directs it to the downspouts. It should be located at the side of the roof near the fascia and at least 1-2 feet above the ground. - Water filter
You will need to have a water filter to ensure that the water you use is safe and free of contaminants from plants and animals. Depending on where you live, you will need to make sure that you get a water filter that meets your local standards. If you are collecting for consumption, your system will need to have water treatment capabilities like chemical disinfection or other serialization methods. - Water pump
You’ll need to choose a pump. There are many different types of pumps available. You’ll need to make sure that the pump you choose can handle the amount of water you’re going to be collecting. - Downspouts/Down pipe
A downspout is a pipe that is installed along the side of your house connected to the gutter. It will be used to direct the water that comes from the rain gutter into the rain barrel.
Depending on the size of your roof, you’ll need to choose a downspout size that can handle the amount of water you’re going to be collecting. - Gutter mesh
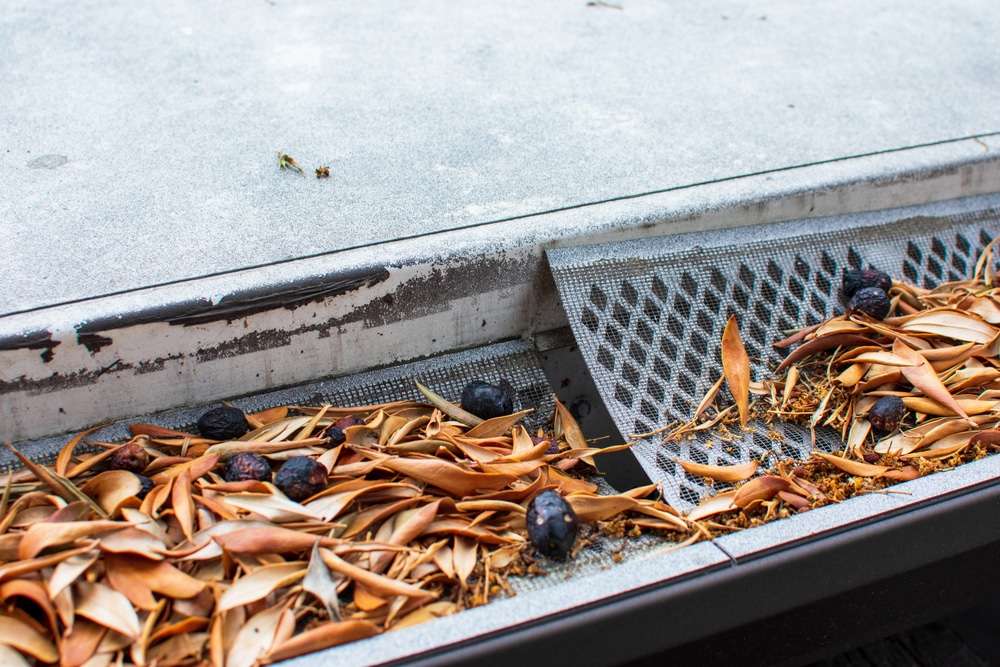
You’ll need to install gutter mesh to prevent leaves, large debris, and other items from entering your system. This is a crucial part of the rain collection system, and it is a must to have.
Step by Step Guide on Installing Your Own Water Collection System
There are ways to collect rainwater and turn it into drinking water. And depending on where you live, different states have rules that may vary. So I strongly advise checking with your local authorities on the rules and regulations.
Always check with your local authority on what you can and cannot do. You may need to get a permit or license to use rainwater collection systems. You can collect rainwater with a rainwater collection system that uses a rain barrel, or with a tank that collects rainwater and holds it until you need to use it.
Here is a 9-step guide on installing your water collection system.
Step 1: Decide on the Size of Your Rain Barrel
There are a lot of factors that you need to consider when deciding on the size of your rain barrel. The first thing that you need to think about is what type of rainfall you are expecting. The amount of precipitation can be hard to gauge but you can approximate a household water usage. Therefore, you will need roughly 50-80 gallons tank for storage.
Step 2: Calculate the Amount Of Water You Can Harvest
The next thing you need to think about is how much water you are going to use in your house. There are different ways to calculate how much water you can harvest, and it is important that you do this correctly.
A rough gauge is approximately 600 gallons of water are generated for every 1 inch of rain that falls on 1000 feet of impermeable surface.
You can check out Rainwater Collection Calculator to get an accurate calculation for your home.
Step 3: Connect Gutter to Downspout

The downspout is where the water comes out of the roof. The size of your downspouts is an important part of transporting rainwater to your barrel.
It is important to know how much water you can expect to collect. The easiest way to size the downspout is to give 1 sq in for every 100 sq ft of roof area. So, if you have 600 sq ft of roof, you can use a 6″ diameter downspout.
This will give you an average of how much water is going to be drained from the roof.
Step 4: Connect Rain Barrel to Downspout

Next, you need to attach your downspout to the rain barrel. If you are using a metal rain barrel, you can use a rain barrel clamp to secure the downspout.
If you are using a plastic rain barrel, you can use a plastic tube that is connected to the downspout.
Step 5: Install a Water Filter, Pump and Pressure Tank
Before you start filling the rain barrel with water, you’ll need to install a water filter. The filter helps stop the sediments that could end up in your water.
You can install a fine micron water filter after the outlet to your tank and before it enters your home. So that will help you filter out all the remaining impurities from the water.
Next, you will need to install a pump that will pressurize the accumulator tank to a certain psi so you’ll have water on-demand throughout the day. The pump will replenish the pressure in the accumulator tank with the storage tank once there is a pressure drop during water usage.
You will need to have a pressure switch to cut in and cut out the pump once it reaches the set pressure.
Step 6: Install a Gutter Mesh

Installing a gutter mesh helps prevent debris from entering your rain barrel at the point where your downspout is connected to the rain barrel.
The gutter mesh comes in different sizes, so take care that you choose a size appropriate for the amount of water coming off each roof section you are connecting.
Step 7: Install a Check Valve
To avoid wasting water, you’ll need to install a check valve.
The check valve is a device that will prevent the water from flowing back into the rain barrel once the system is pressurized.
It can be installed in the bottom of the rain barrel or you can buy a rain barrel kit that includes a check valve.
Step 8: Fill the Rain Barrel With Water
Once you are done with all the necessary parts and installation, you can start filling the rain barrel with water.
You can fill your rain barrel with water from a garden hose or you can use a pressure pump.
Make sure to clean the rain barrel and make sure that it is empty before you start filling it with water.
Step 9: Test Your Water System
The next thing you will need to do is test the system, Start by testing the water pressure and flow rate using a pressure gauge.
This will help you to determine how much water you can expect to get from your rain barrel.
You can also use a pH test kit to test the pH of the water quality by reading the pH level on the test kit. The pH level will help you to determine if the water is within a safe level for consumption.
Doing a few of these tests will help you to determine if the system is functioning properly.
Final Note
In conclusion, this direct-pump system requires some electrical knowledge to hook up the pump and pressure switch. So, do consult your local contractor if you have no prior knowledge. You can also choose to adopt a gravity-feed system for washing and gardening application that does not require any pump and pressure tanks.
Overall, a rain collection system is a great way to save water and money. No matter how much rain you get, you will be able to collect rainwater and use it for your garden and other purposes.
Remember that rain barrels come in different sizes and shapes, so make sure to buy one that is appropriate for the amount of rain you get. Also, if you enjoyed this guide, you may want to check out our other off-grid articles
If you have any questions, feel free to leave them in the comments below.

